Step-by-step Guide to creating a Windows Server 2025 Virtual Machine
·834 words·4 mins·loading·loading·
Author
Shane Menezes
Oracle DBA L2
Table of Contents
Table of Contents
Step-by-Step Guide to Creating a Windows Server 2025 VM Using VMware Workstation Pro
#
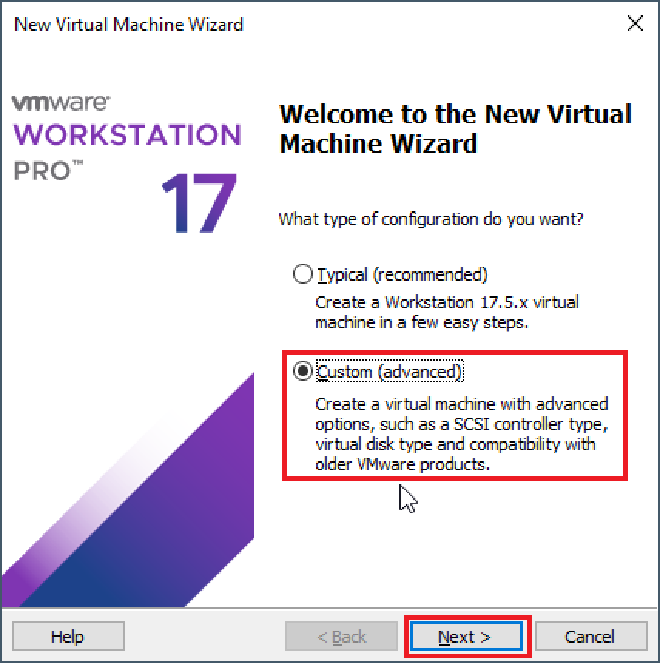
In this guide, we’ll walk through the process of setting up a Windows Server 2025 virtual machine using VMware Workstation Pro. This guide is ideal for users who want to set up a Windows Server environment for testing or development.
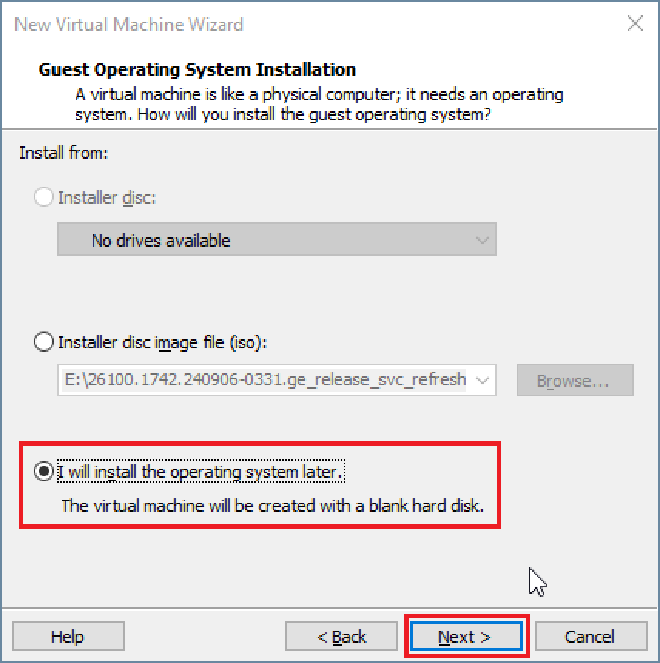
In the Guest Operating System Installation window, select I will install the operating system later. as the operating system.Click Next.
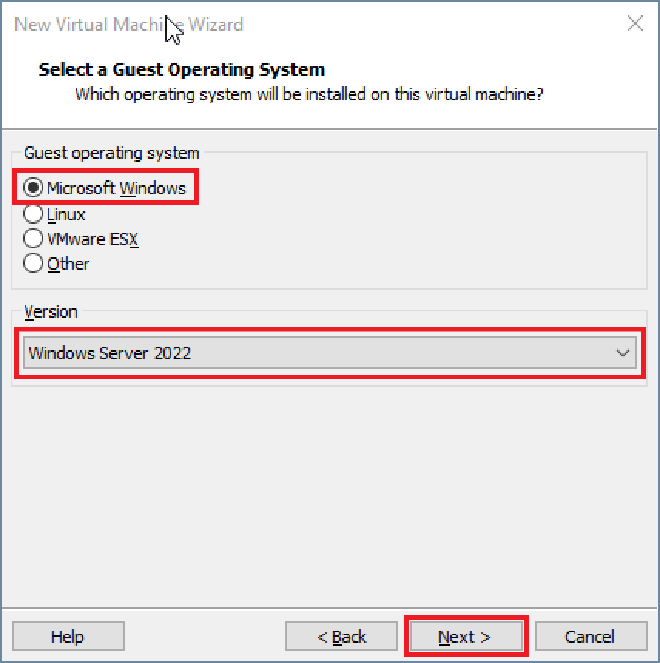
2.In the Guest Operating System window, select Microsoft Windows as the operating system.
From the Version dropdown, choose Windows Server 2022 (if Windows Server 2025 is not listed, select the closest match). Click Next.
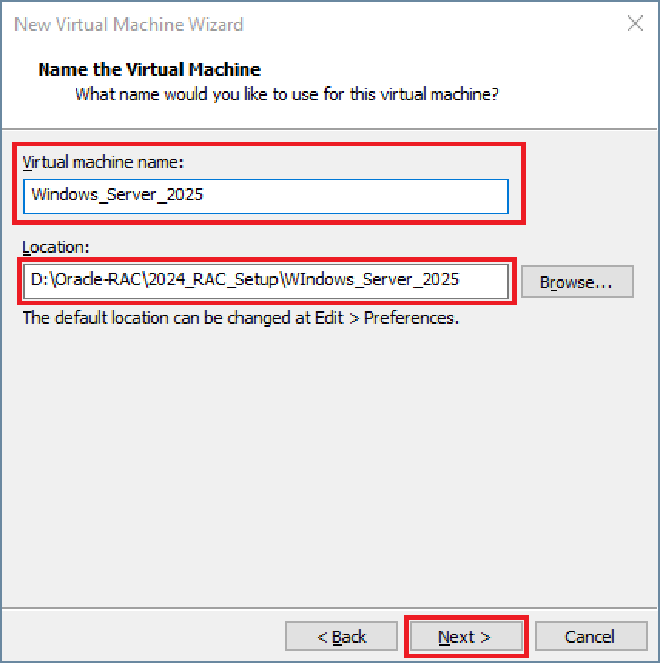
Step 4: Name the Virtual Machine and Choose Location
#
Name your virtual machine (e.g., “Windows Server 2025”).
Choose a location to save your VM files or accept the default path. Click Next.
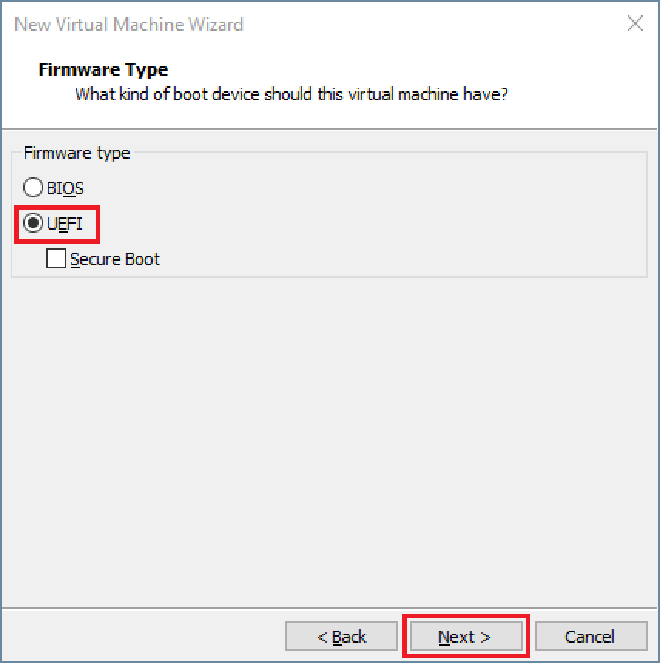
In the Firmware Type Window choose UEFI. Click Next.
Step 5: Set Processor and Memory for the VM RAM, connection type and Controller Type.
#
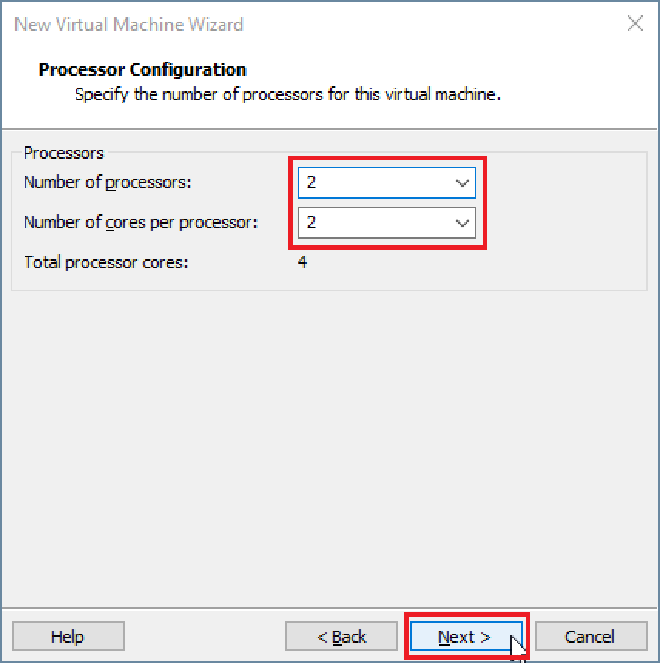
In the Processor Configuration window.
Select 2 for the number of Processors.
Select 2 for the number of cores per Processors.
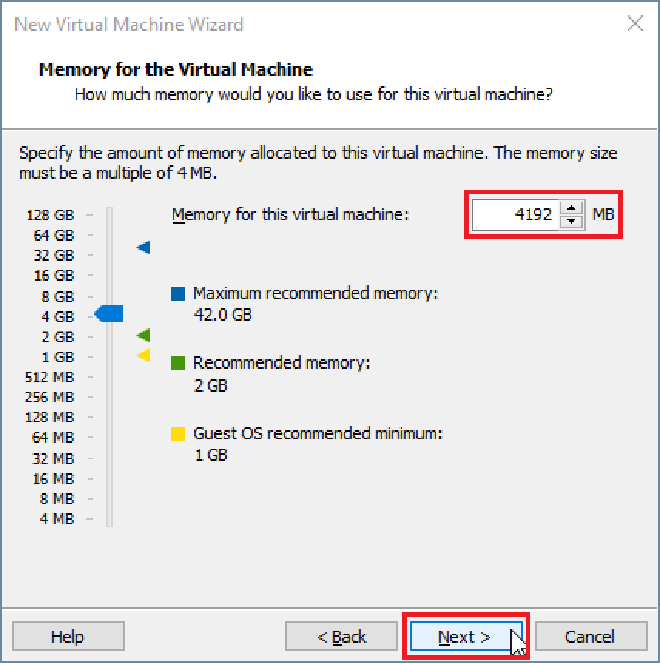
In the Memory for the Virtual Machine window. Set 4GB Memory to the VM.
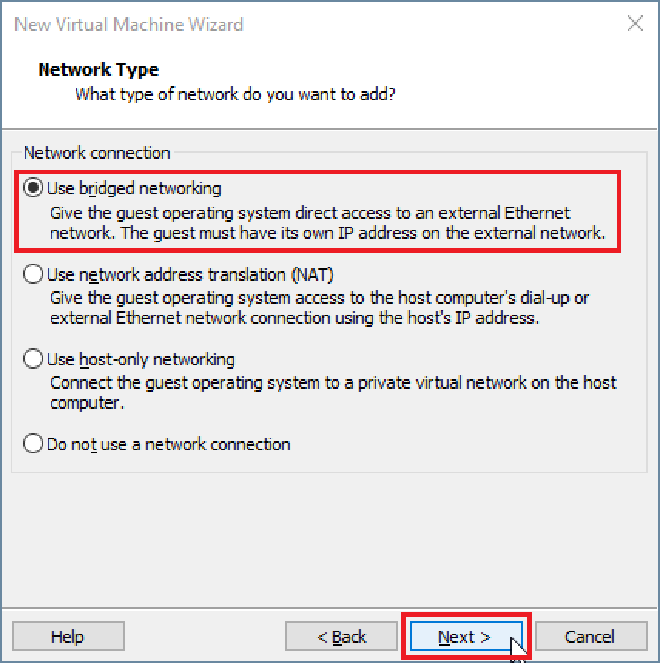
In the Network Type window select Use bridged networking
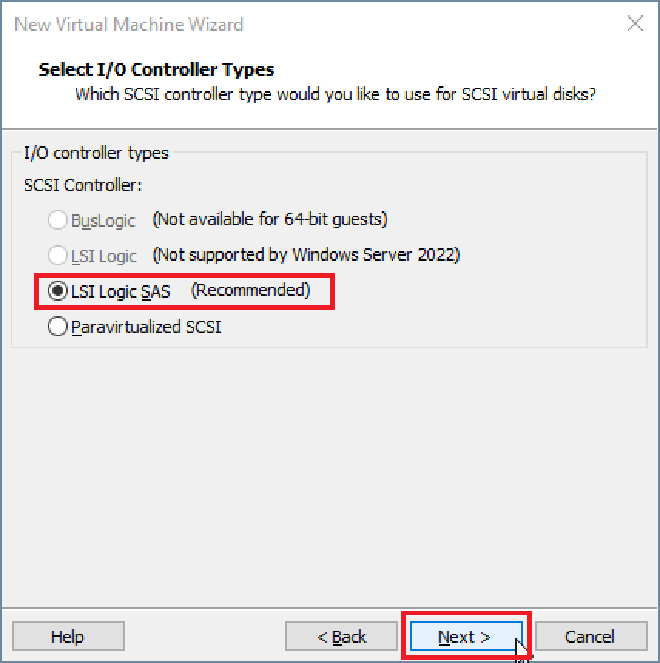
In the Select I/O Controller Types select LSI Logical SAS (Recommmended)
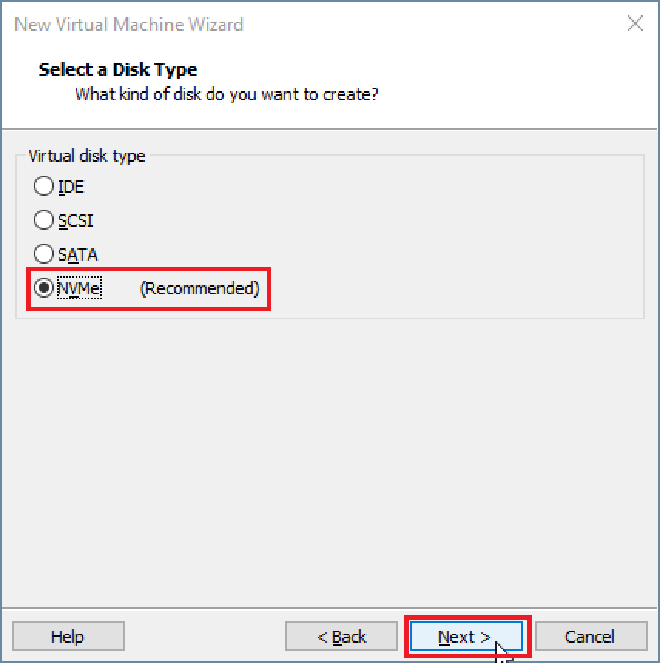
In the Select Disk Type window, select NVMe (Recommmended).
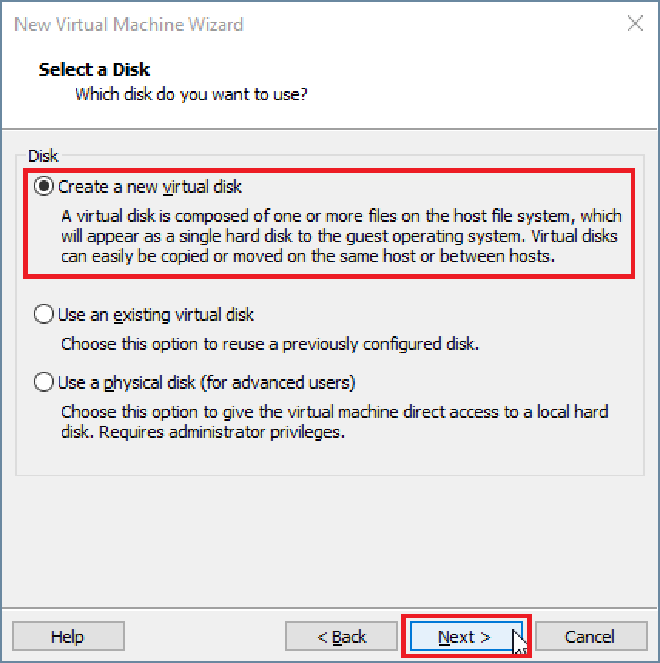
In the Select a Disk window, choose Create a new virtual disk. Click Next
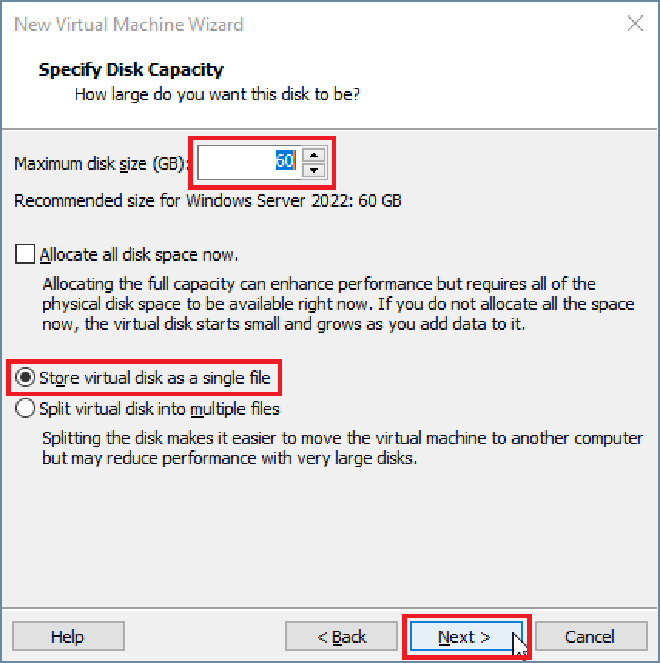
In the Specify Disk Capacity window, choose a disk size appropriate for your VM. 60 GB is recommended.
Select Store virtual disk as a single file for simplicity (you may also choose Split virtual disk into multiple files if needed).
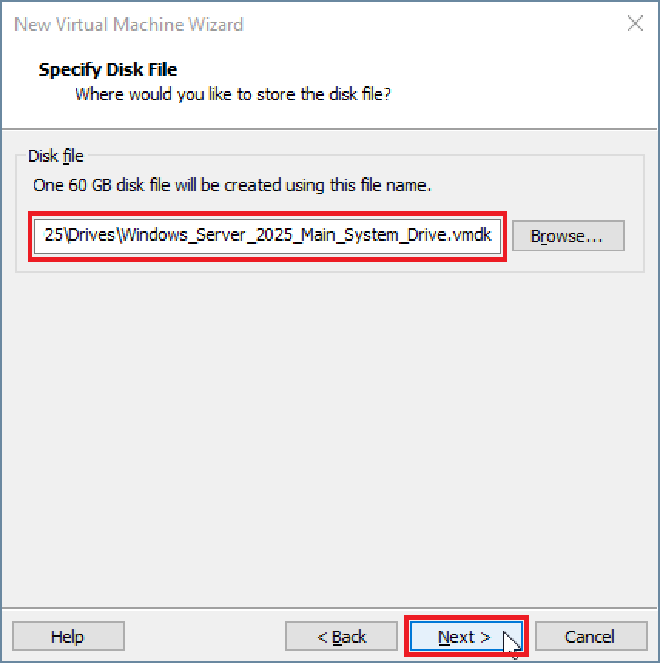
In the Specify Disk File window, choose a disk file location of your choice.
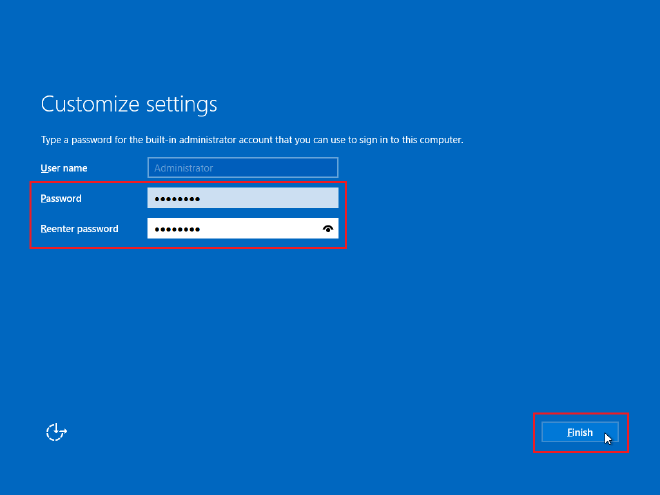
Once the setup is complete, press Ctrl+Alt+Del (or use VMware’s Send Ctrl+Alt+Del option).
Log in using the Administrator account and password you set up.
Step 13: Install VMware Tools (Optional but Recommended)
#
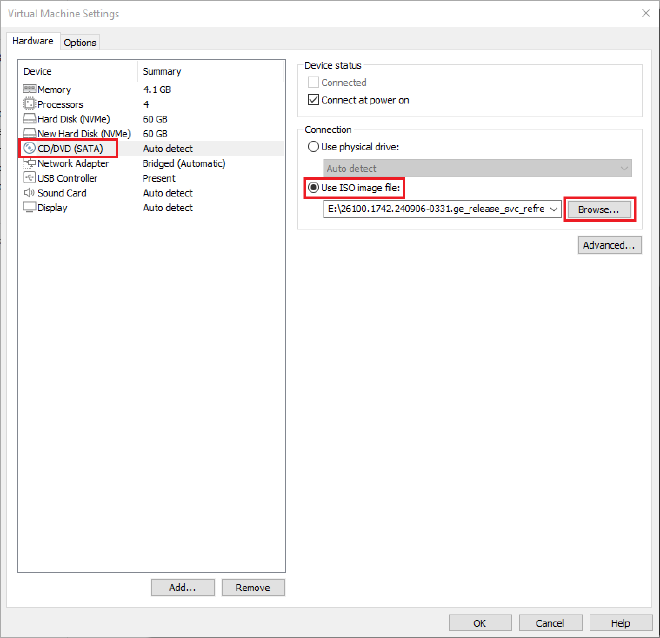
After logging in, go to the VM menu in VMware Workstation Pro.
Select Install VMware Tools to enhance VM performance, such as improved graphics and seamless mouse integration.
Follow the on-screen instructions to install VMware Tools and reboot if necessary.
Congratulations! You’ve successfully set up a Windows Server 2025 VM in VMware Workstation Pro. You can now begin configuring your server environment, install roles and features, and use it for testing or development purposes.